Assignment Unit 10
HDR/Pano & Stitches
Inside of the Bridge in Photoshop (and in Lightroom, Google Pano HDR Lightroom and you’ll find it) is a powerful set of mini-programs to make and merge multiple images to make an image you cannot produce with one shot. These are the HDR and Photomerge (for Stitching and Panorama) tools, found under the Tools menu of the Bridge (see screenshot)
Please view the tutorials for further information on how to assemble these in the Bridge. When you finish with Photomerge, you’ll end up with very large files. In both cases you’ll need to save the images as jpegs small enough to load your assignment, as usual.
The assignment is to shoot one HDR, one Panorama, and one Stitched “crazy’ image. There are versions of each of these in my examples folder.
HDR image. Shoot a bracketed series of images (the exact same photograph shot at different exposures for the highlights and shadows) in a lighting condition that contains bright outside lighting and interior lighting. Bracket 1-1/2 or two stops in each direction. At least three total images, though five is even better. A tripod is great, but you can also do this by selecting the AEB setting in your menu (see camera instructions) and setting up a brack that will be shot all at once when you depress and hold the shutter button. Just be as steady as you can when doing this. Choose a non-moving subject.
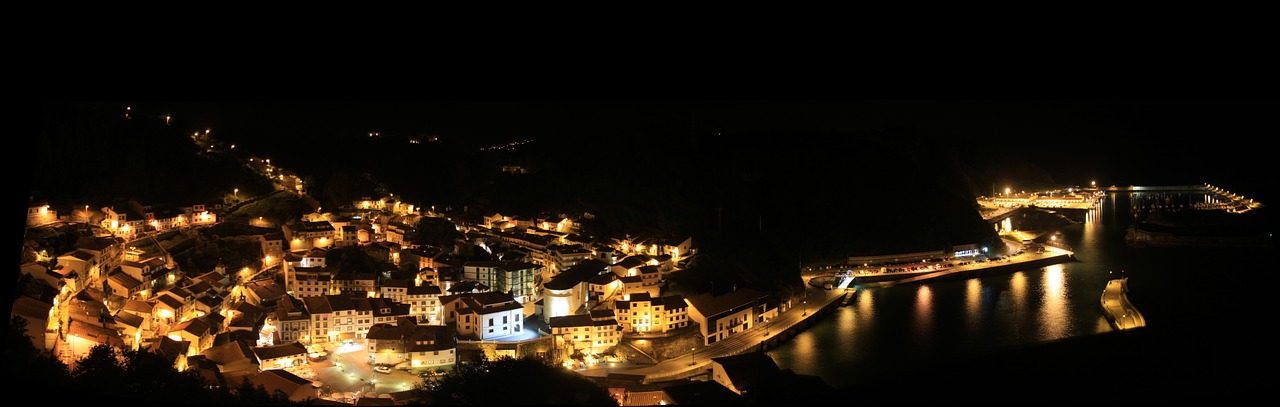
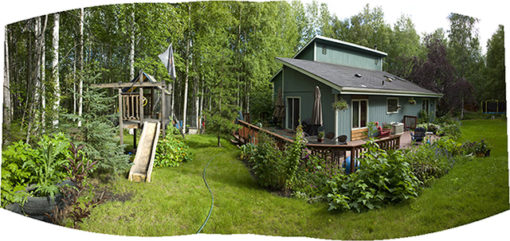
Stitched Panorama. Make a series of overlapping images that we will then use in Photoshop to create a horizontal (landscape) or vertical (portrait for example) image, or a large scenic image, as shown in the examples. Technically, use a manual exposure and the same focus for the each image. You don’t want the exposure to change by what you are pointing at. Focus likewise. Overlap all frames at least 1/3.
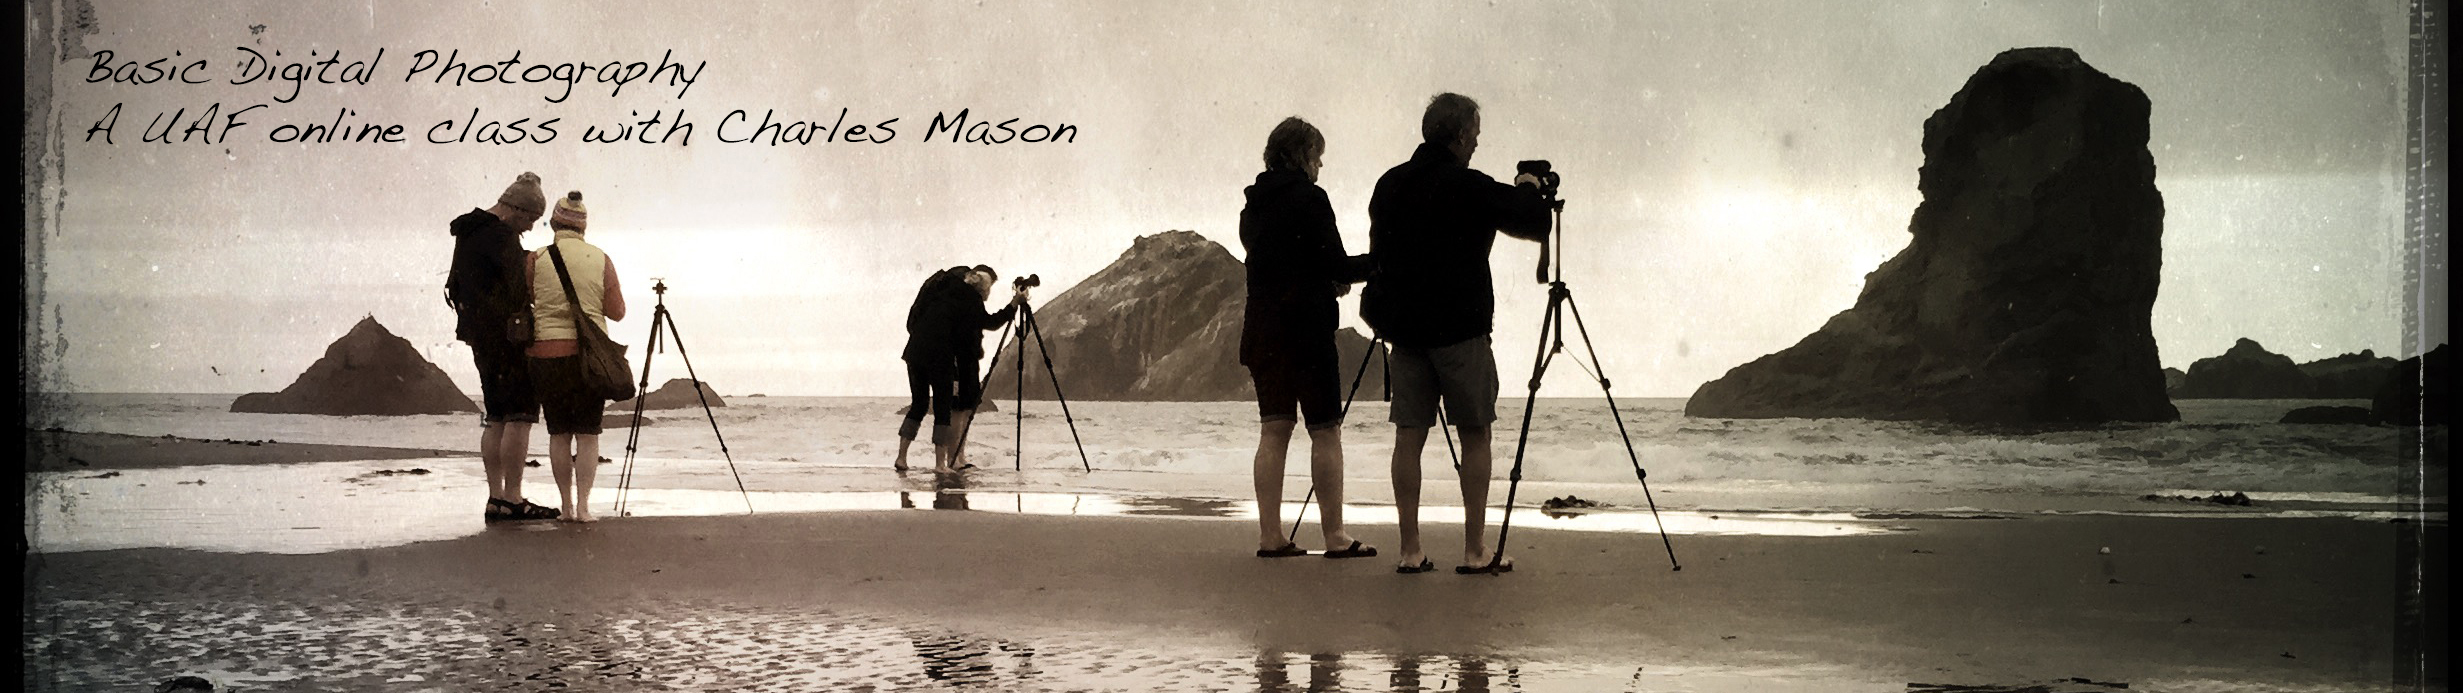
This too uses Photomerge, but not in a Panoramic form. See the examples for “crazy’ compositions. Shoot a bunch of non-linear overlapping images, and then pass them to Photoshop (or Lightroom) to let the program come up with a funky but playful image. Again pick a focus point and manual exposure setting to stick with for all the images.
Then follow the tutorials and make your best image of each of these techniques. (NOTE: the tutorial on Panorama goes into using Content Aware to add water to the image. It isn’t required, but you might find it interesting. For me you can crop, or leave your image as is.)
Navigate to Blackboard Unit 10 to submit your work.
Feedback to Charles: https://goo.gl/forms/vZ7fv7iWl5